
Hey! How are you? Long time no chat! How have you been coping with lockdown and our so called, 'new normal'?
Firstly, let me start by saying I imagined I would have had a blog posts a week written by now during this lockdown period. Yet, some how this is my first!! In my head there were going to be so many projects taken on and finished, with me then boring you senseless with a blog post to match!
Not at all!! With the amazing Spring weather we had, I spent so much time outside, making the most of it, indulging my love of gardening, improving on the work we did to the garden last year. So all thoughts of interiors went out the window. I'm sure like so many of you, in addition to work, I also had to learn to be a school teacher, not as easy as the professionals make it look! But I have to say, I've loved having more time to connect with family and generally enjoy living life at a slower pace.

But seeing as we now seem to have April's weather in June, as I look out the window at cold, grey and wet skies, I'm finally sitting down at the laptop, getting round to sharing a DIY with you!
Having had our garden re-landscaped last year (best money we ever spent), when it came to the terrace/patio area, we very much wanted to create the feeling of an outdoor living room. Garden furniture can be extremely expensive, so making our own ticked so many boxes, allowing for a more bespoke look, keeping costs low by using reclaimed materials, not to mention the sustainability factor. Last year we made a pallet sofa and coffee table, but our attempt at making a garden table didn't hold up over winter. So, we set ourselves a challenge to use the wood elsewhere and create a new one.
The inspiration for our Aztec Garden table, which I'm sure you've seen on Instagram, came from Pati Robins. Pati creates amazing DIY’s for the home on a budget, always with an emphasis on using sustainable materials. You can find her on Instagram @patirobins or via her own amazing website https://www.style-squeeze.com/
Using Pati’s ‘How-to’ guide as a template, I thought I'd share with you how we made ours, in case you are inspired to give it a try!
Here’s what we used:
· Electric screw driver with wood drill bit attachments
· Measuring Tape and Metal Rule
· Pencil and rubber for marking out
· Saw – hand or electric mitre saw if available
· Sander and sandpaper
· Pallet wood/ reclaimed timber boards
· Wood glue
· Wood Screws
· Wood stain/Chalk Paint/Clear Top Coat
· Legs – we chose to use 3-pin metal legs from The Hairpin Leg Company https://www.thehairpinlegcompany.co.uk/collections/hairpin-legs but equally you could make them from timber as Pati did.
To Construct The Table:
The Frame:
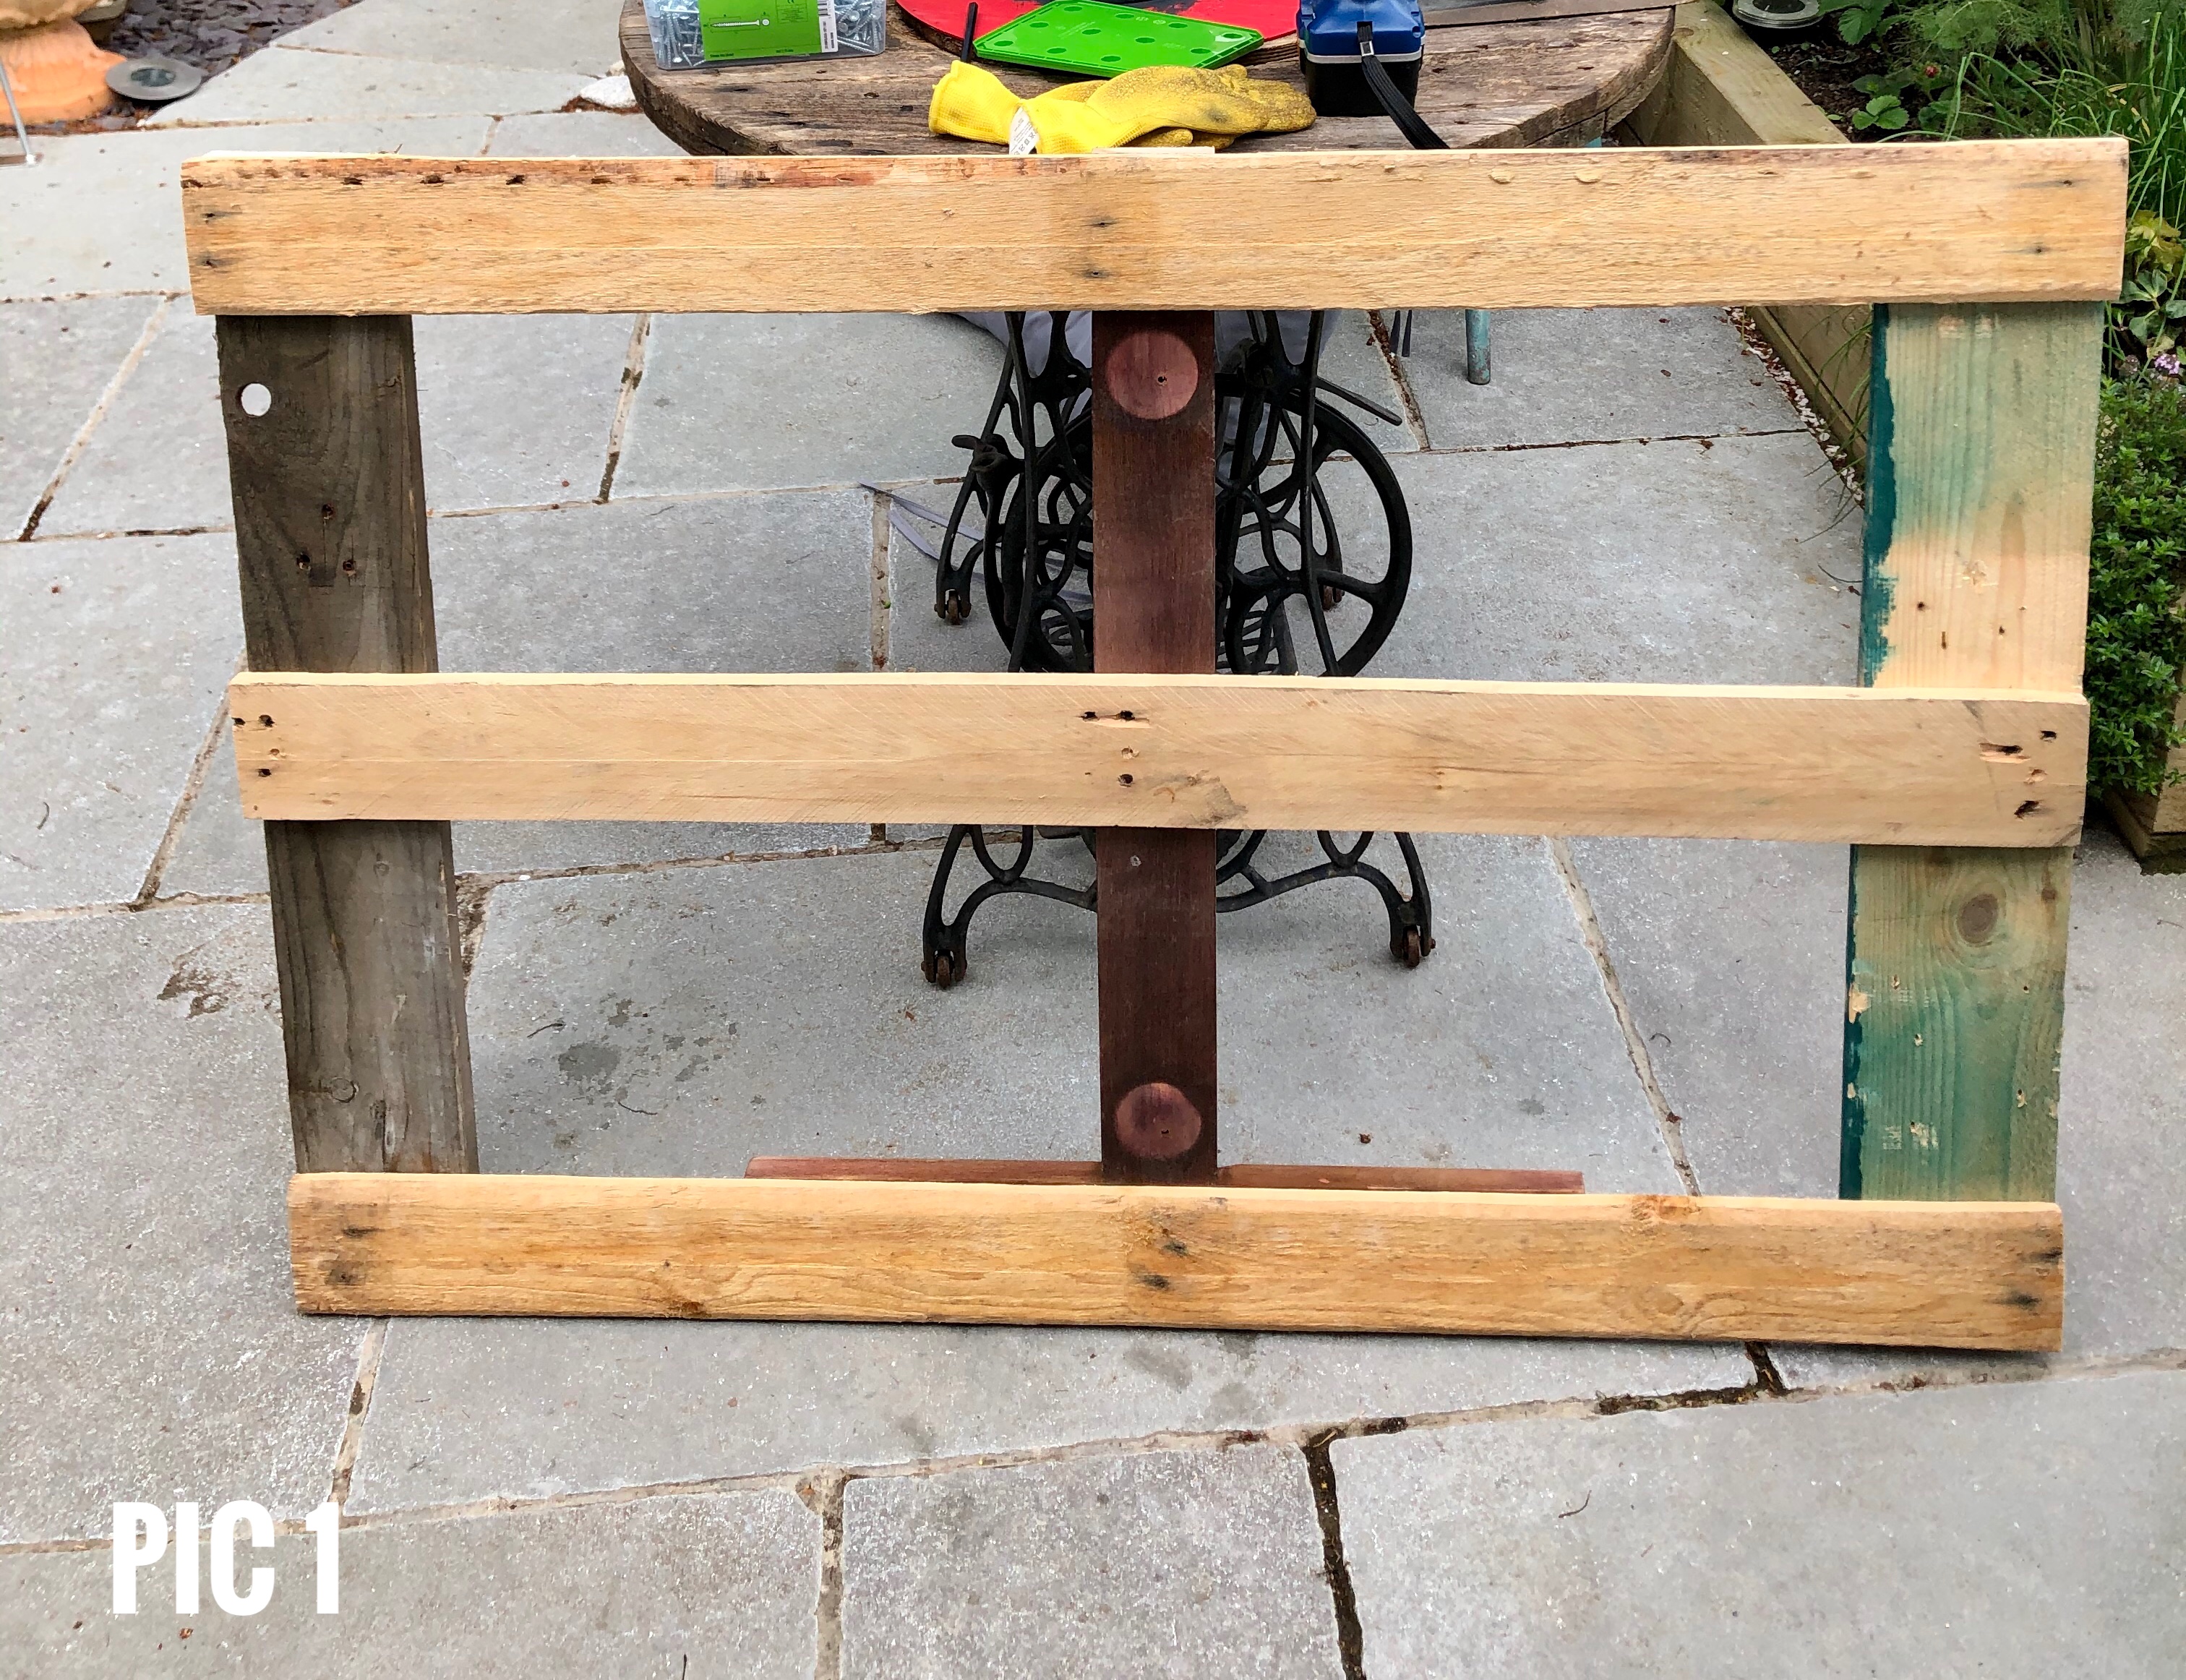
1. We began by constructing a basic frame, for the table top boards to attach to as shown (pic 1), using three long planks and three shorter ones. The size of table you are making will determine the lengths you need. We wanted our table to comfortably seat four. (130cm/51” long x 100cm/30’ wide).
2. The pieces were then fixed together by drilling pilot holes and using wood glue and screws to fix together.
3. We attached our metal legs at this point to make the table top construction easier, as shown (pic 2).

The Table Top:
1. Next you want to create the table top. Lay your chosen planks out on the frame and mark them from underneath with a pencil so you cut to size using a hand or mitre saw. Our planks were a mixture of different woods, sourced from my Father-in-law.
2. The planks were then attached to the frame using wood screws (pic 3).

3. The boards were then well sanded, or you could equally sand them before attaching them to the table-top if you prefer (pic 4). As you can see this table was a family project!

4. To neaten the edge and create the illusion of chunky boards, we attached edging boards. Unfortunately, we did not have enough long lengths of wood, at this point and with lockdown, we had to improvise and use multiple smaller pieces, cut to fit as shown (pic 5).

5. These were then also sanded to ensure there were no rough edges and corners were smoothed.
To Create The Aztec Design:
1. Using a ruler and pencil, mark out an Aztec pattern to create the design you want in pencil. (pic 6).

2. When you are happy with the design, using a mixture of wood stains and chalk paint (anything we already had in the shed), we then painted in the effect of different woods. For example, we used watered down white chalk paint to create a lime-washed effect. Graphite chalk paint to emulate ebonised wood, then darker wood stain for a mahogany wood colour. Some parts were also left natural (pic 7).

3. With the pattern created,(pic 8) to add to the illusion the table is made of cut pieces fitted together, we used the cutting blade of a multi tool to form an indent groove in to the planks, following the painted lines (pic 9). A metal rule is very helpful at this point to help guide you and keep the line straight. Smudged paint areas were then touched up accordingly.


4. Finally, with the lines clearly marked, the table was then sealed with several coats of clear wax. Ideally, we would have used clear outdoor varnish, but we had run out so had to improvise. You could also use boiled linseed oil or wooden worktop oil, depending on what you have to hand. We recommend Rustins https://www.rustins.ltd/rustins/our-products/outdoor/quick-dry-outdoor-clear-varnish

5. With all the hard work over, all that's left to do, is pour yourself a glass of your favourite tipple, grab a chair and admire your handiwork!

What it Cost
The only real cost involved to make the table for us were the hairpin legs, which we sourced for approx €50. All other materials we already had or were able to source for free. If you are dismantling pallets for the first time, we would highly recommend going on to search engines such as Youtube or Pinterest and following how-to instructions. You can also check out the amazing Nikkita Palmer Designs, who are specialists in making furniture from reclaimed materials and have a great website https://www.nikkitapalmer.com/ and book with all manner of advice and creative projects.
Get The Look
To create the outdoor living room vibe, we added plants, mirrors and accessories. We strung festoon lights across the garden for some added magic come the evening time. We even made our own raffia pendant solar light, the how-to for which you can see saved in my Instagram hightlights.

Finally, a gorgeous Serowe outdoor rug from Fab Habitat www.fabhab.eu made from recycled woven plastic, really added the wow factor and is lovely to walk on. Because the rug is weatherproof it can stay out in all weathers, even the so-called Irish summer! We couldn't resist adding the weatherproof cushion to match! Fab Habitat are commited to offering beautiful, eco-friendly products, whilst ensuring a fair price is paid to the makers.

We are so thrilled with the results! It feels great to know our table is unique to us, at a fraction of the cost of buying a new one. With lockdown restrictions easing soon, we are looking forward to welcoming friends and family over for summer parties to make the most of it! We are currently working on building an outdoor kitchen unit, for our BBQ, including storage, so watch this space.

I hope this inspires you to give it a go. Be sure to show me the finished results if you do!